Thursday, January 13, 2011

First Print off the Test Polymer Plate

So this is my first print off our first polymer print. It's numbers one through five because we did a time exposure test, each number was for one minute.

The steps we used making the plate (prior to having a vacuum press):
  1. Print an inverse on a transparency (so the letters were white in a block of black)
  2. In a black room with a safe light, take out the photosensitive polymer paper
  3. We used clamps to make a sandwich of glass plate, the transparency, the polymer plates and then a cardboard backing. There are several problems with this: The glass isn't as good as Kreene and will slightly diffuse the light to make the type fuzzy. Plus we broke the glass with the clamps. It's hard to get consistent results with this type of setup, there's too many variables.
  4. Then we turned our lightbox on, holding it about 1 inch above the plates with wood blocks. Because we were doing a time exposure, we had paper covering all the other numbers and every twenty seconds we lifted the box and moved the paper over.
  5. Once we had exposed all the numbers we dunked the plate (still in the darkroom) and used a soft bristle toothbrush to clean off the plate. FYI- use gloves when you do this, I didn't and my hands burned after, but I have pretty sensitive skin.
  6. After we finished we let it dry and then we heard that we should put it back under the light to "bake" it. I'm not really sure if that did anything or not but we tried it.
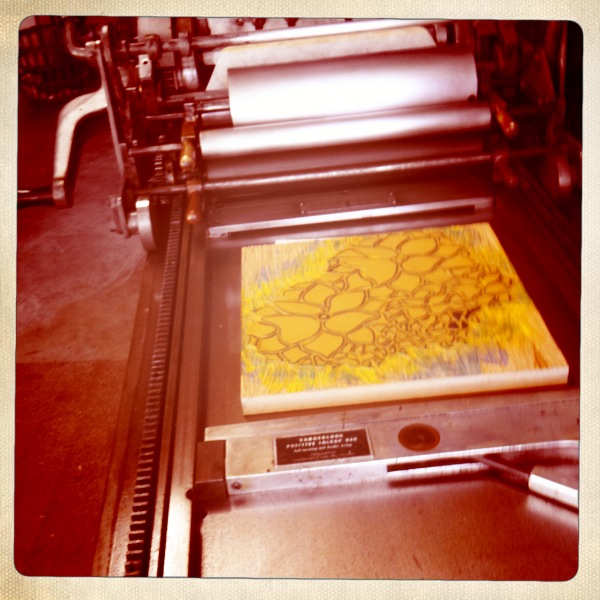
  7. Boom! Our plate was done!

You can see the five is fuzzy because it was overexposed. After we expose the film it's washed and the unexposed part washes away, but the five was so exposed that not much of it washed away.

Then we took the plate and then just used the brayer to ink the plate instead of putting it on the press since it takes forever to wash the press off.

Polymer Plates

My husband is amazing...hence the reason why we're called Smitten Invitations. It's because I'm smitten with him...and not just for building me a lightbox to expose my own polymer plates! And he got me a custom milled aluminum block to put my polymer plates on. No kidding! It was a ton of work, and when I saw it Christmas morning I was so happy I cried.

We're currently working on a vacuum press so we can properly expose my plates and once that's done we'll be going 200%. I'm 90% excited and 10% terrified to the possibilities this opens up. I'm scared my creativity can't match the awesomeness of my press. I'll do my best though.

I'll be posting about the vacuum press as we build it with lots of photos as we weren't able to find much online ourselves, so hopefully it'll help someone out.

Happy Birthday to Me

You know what, my husband rocks. Not just a little, but that type of "every time I see him I smile" kind of awesome. You'll know why when you hear about the birthday present he got me. And got might be the wrong term.

Every night after I went to sleep, Chad got up and secretly went out to the garage to clean, repair and make ready my press for my birthday present! He researched, scrubbed, fixed and purchased till the wee hours of the morning for over two weeks.

In addition to a perfectly working press, he got me a jug of CA Wash and 5 PantoneVanSon Rubber inks...and my super cool Boxcar Press shirt that I wear proudly (just not when I press because I don't want to ruin it).

It was the most incredible birthday present ever. As you might guess, having a one year old daugher doesn't give me tons of time. I think it would have taken me months to do what he did for me and now I'm ready to start my first test run!

More Owls


This wasn't off the press, but I thought it'd be fun to show how the other owls turned out as well. I scanned in my drawings and put them through Illustrator and used them in a hundred different ways at the birthday party. Photo courtesy of my MIL Judi Bumstead.

Owls Party Print


This is the print I finished with. I hand carved the linoleum block, so it has the rough carved look, but I was pretty happy with it. I cut out each page into triangles and strung it into a banner for my daughter and her cousin's birthday.

Owl Sketches


I'm starting to work on my daughter-niece-nephew's one year birthday party. Theme: owls!! These are some preliminary sketches I'm working on. I can't imagine I'll have the press ready to go in time, but you never know!

Please send any owl ideas and inspiration my way and we'll share it with everyone!

The Press is Here!!!


My new Vandercook 4 Press proof is here and it's mine, all mine!! I'll keep you posted on how it's coming along- I know it needs a good scrubbing and new platten, but otherwise it's still waiting to be used! Now that we're settled into our new house I'm hoping to get it up and running shortly.